Creating AI generated images at home with Stable Diffusion
Posted on August 23, 2022
 with prompt; 'dreaming by the river -'. You can share and adapt this image following a CC BY-SA 4.0 licence")
Stability.ai has just publicly released an open source text to image AI that you can download and run on your local consumer GPU. From the github:
Stable Diffusion is a latent text-to-image diffusion model.
I have no idea what this means. All I know is that you give it some words and it tries to generate an image encorporating those words. This particular technology is limited. It can not render readable text. It cannot achieve true photorealism. It can not do a lot of things. It can, however, produce images that at a glance look suprisingly legitimate.
How do I get access to this?
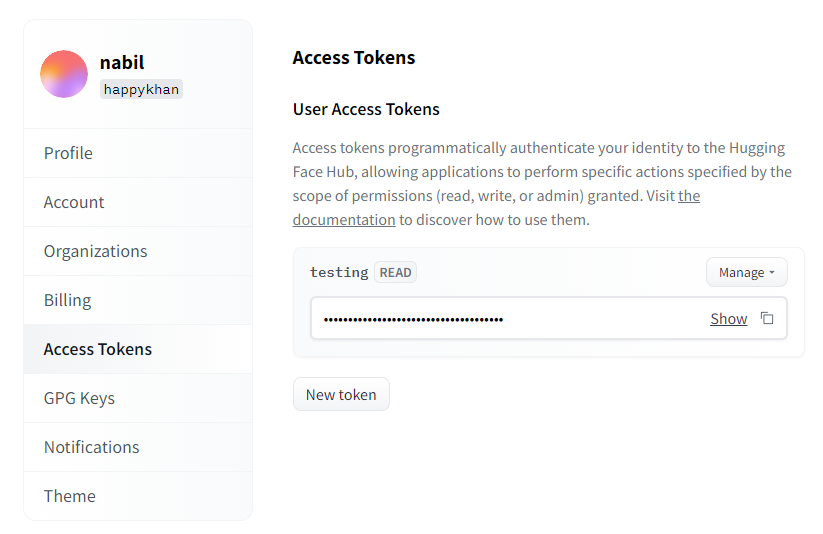
You first need an account on huggingface.co. Sign up is free, but you do need to verify your email. In this account, you need to mint a user access token, which you can do from this page https://huggingface.co/settings/tokens. You will use this token later to download the AI models.
If you can get to this point yourself, you're golden.
The software itself is all available as Python modules. You need to install the following:
pip install diffusers transformers scipy
You need to login into huggingface on the command-line. It will prompt for the token that you just created on the website.
huggingface-cli login
You can then generate images in python scripts by calling the StableDiffusionPipeline from diffusers. In the sample script below, you can see the steps: download the model, switch to using the GPU, then feed in the prompts, and write the output image.
import torch
from diffusers import StableDiffusionPipeline
from PIL import Image
from torch import autocast

prompts = ["a gentleman otter in a 19th century portrait",
    "Cat penguin",
    "father speaking to son Fine Art"]


# make sure you're logged in with `huggingface-cli login`
pipe = StableDiffusionPipeline.from_pretrained("CompVis/stable-diffusion-v1-4",
     use_auth_token=True)

print('Loaded model')
pipe = pipe.to("cuda")
generator = torch.Generator("cuda").manual_seed(200)

print('running...')
with autocast("cuda"):
    for prompt in prompts:
      prompt = prompt.strip()
      image = pipe(prompt, num_inference_steps=100, generator=generator )["sample"][0]
      prompt_filename = (prompt[:30] + '..') if len(prompt) > 30 else prompt
      output = prompt_filename.replace(' ', '_').replace(',', '') + ".png"
      print(f'Saving image: {prompt} to {output}')
      image.save(output)
Some things to note:
- The
StableDiffusionPipeline.from_pretrainedwill download the required models at runtime. This will take up ~5GB. - You need to setup the authenication token at huggingface.co.
- You could also feed the token in directly with
pipe = StableDiffusionPipeline.from_pretrained("CompVis/stable-diffusion-v1-4", use_auth_token=YOUR_TOKEN), rather than giving a boolean as I have done. This would allow you to skip thehuggingface-clistep above. torch.Generator("cuda").manual_seed(200)allows you to choose the random seed.num_inference_stepsis the number of iterations, the higher the more detail will be added to the resulting picture. This increases the runtime, and it does not mean that the picture will be better. If not specified it will run with the default value of51. The maximum number of iterations depends on the amount of GPU memory available.
I had a lot of help from this Google Collab notebook, which explains more advanced topics like showing images on a grid and creating your own diffusers.
Some of the glorious output
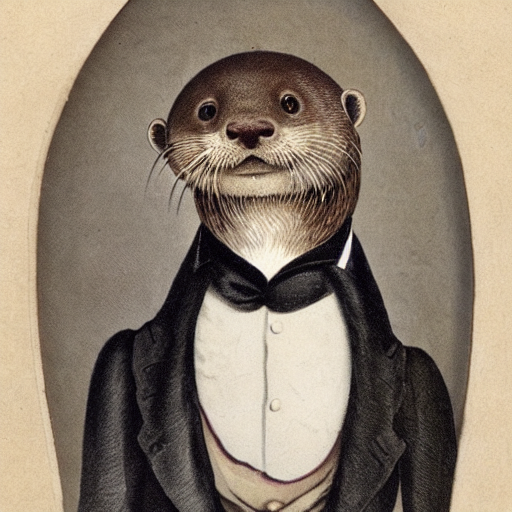
prompt: a gentleman otter in a 19th century portrait
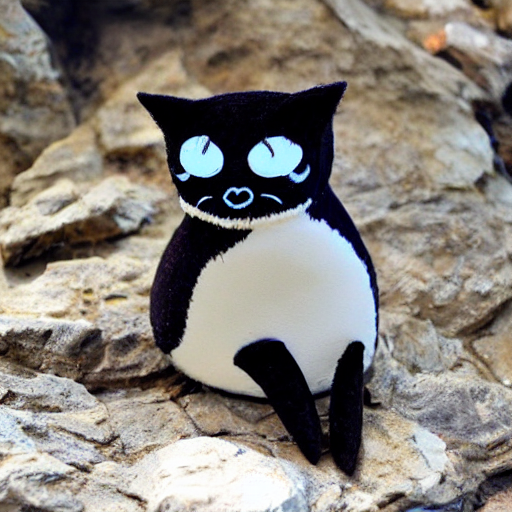
prompt: Cat penguin
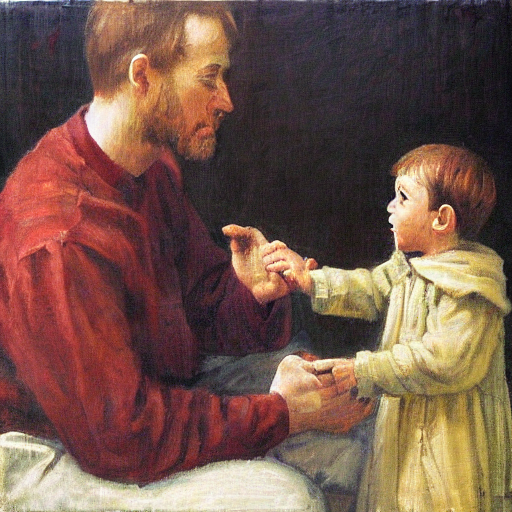
prompt: father speaking to son, Fine Art
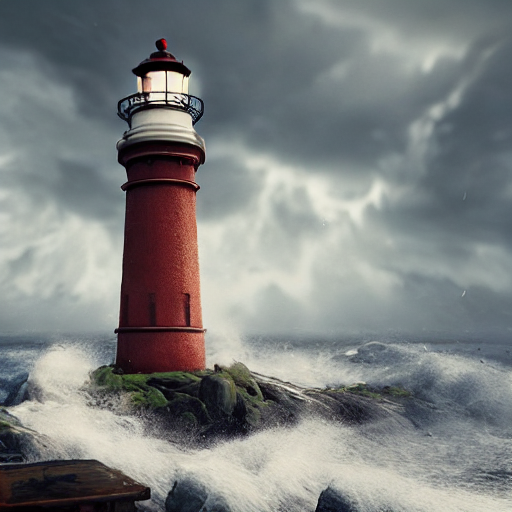
prompt: an ornate lighthouse rising from the sea
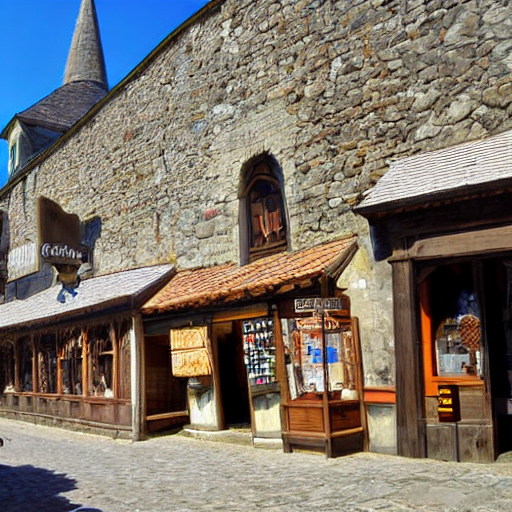
prompt: medieval shops and towns